How to Clean Reclaimed Wood Furniture the Right Way

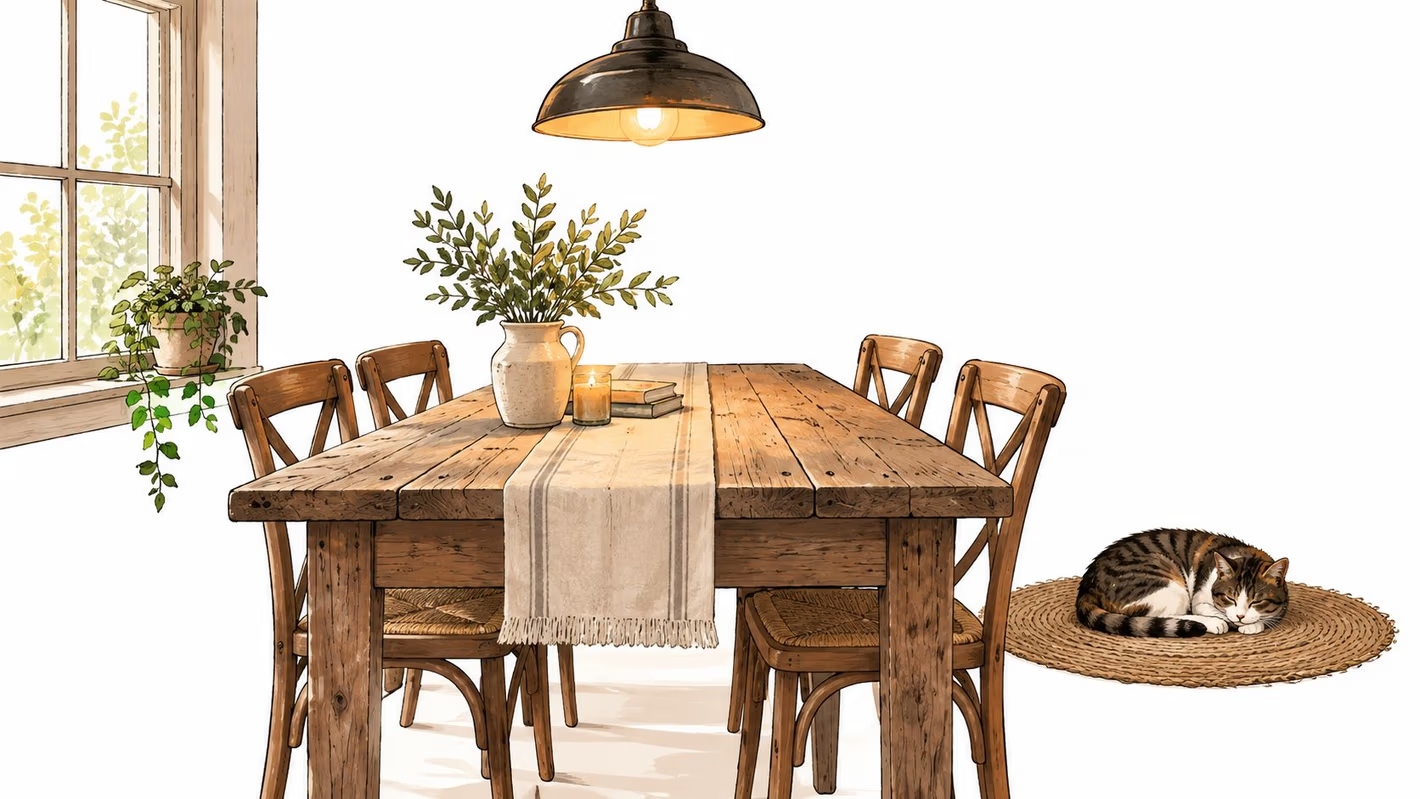
You've brought home a reclaimed wood table, console, or cabinet with a surface full of old grain, nail holes, and color variation. It looks right at home, but the first spill or dusty weekend raises an uncomfortable question: how do you clean reclaimed wood furniture without erasing what makes it special?
The answer starts with restraint. Reclaimed wood needs less water, milder products, and a cleaning method matched to its finish. The safest routine protects the patina while removing grit, food residue, and everyday marks.
Why Reclaimed Wood Needs a Gentler Touch
A reclaimed dining table may have spent years in a barn, factory, or older home before reaching a living room in Grants Pass. Its surface may carry saw marks, nail holes, repaired cracks, and uneven color that give the piece its character. Those details aren't flaws to scrub away. They're part of the furniture's history.
That previous life also makes the material less predictable than newly milled lumber. Some boards are dry or porous, some have old cracks, and many pieces have finishes that are uneven, partially worn, or difficult to identify. A surface that looks sealed in one area may absorb moisture quickly in another.
Why ordinary sprays create trouble
All-purpose sprays, abrasive scrubbers, and soaking-wet cloths can create problems that aren't obvious at first. Excess moisture may swell porous areas, deepen stains, or discolor older wood when it settles inside cracks. Strong chemicals can dull an aged finish, soften wax, raise the grain, or strip away the mellow surface that makes reclaimed furniture appealing.
Routine care guidance recommends weekly dusting with a soft or microfiber cloth, followed by only a barely damp cloth for spills or deeper cleaning. The surface should be dried immediately, and standing water should never be allowed to remain on the wood. See the guidance on reclaimed wood furniture near Grants Pass for more context on selecting and caring for these distinctive pieces.
Practical rule: The imperfections that make reclaimed wood beautiful are the same features that can hold moisture and residue. Clean around them gently instead of trying to make the surface look newly manufactured.
A reclaimed piece doesn't need aggressive cleaning to stay attractive. It needs a consistent routine that respects its age and finish. Treating it like an heirloom from the first day is the simplest way to preserve its usefulness for years.
Your Weekly Cleaning Routine for Reclaimed Wood
The safest weekly routine uses low moisture and gentle mechanical action. Dust should be removed dry, and any damp cleaning should leave the cloth nearly dry rather than wet enough to spread water across the surface.
A simple weekly process
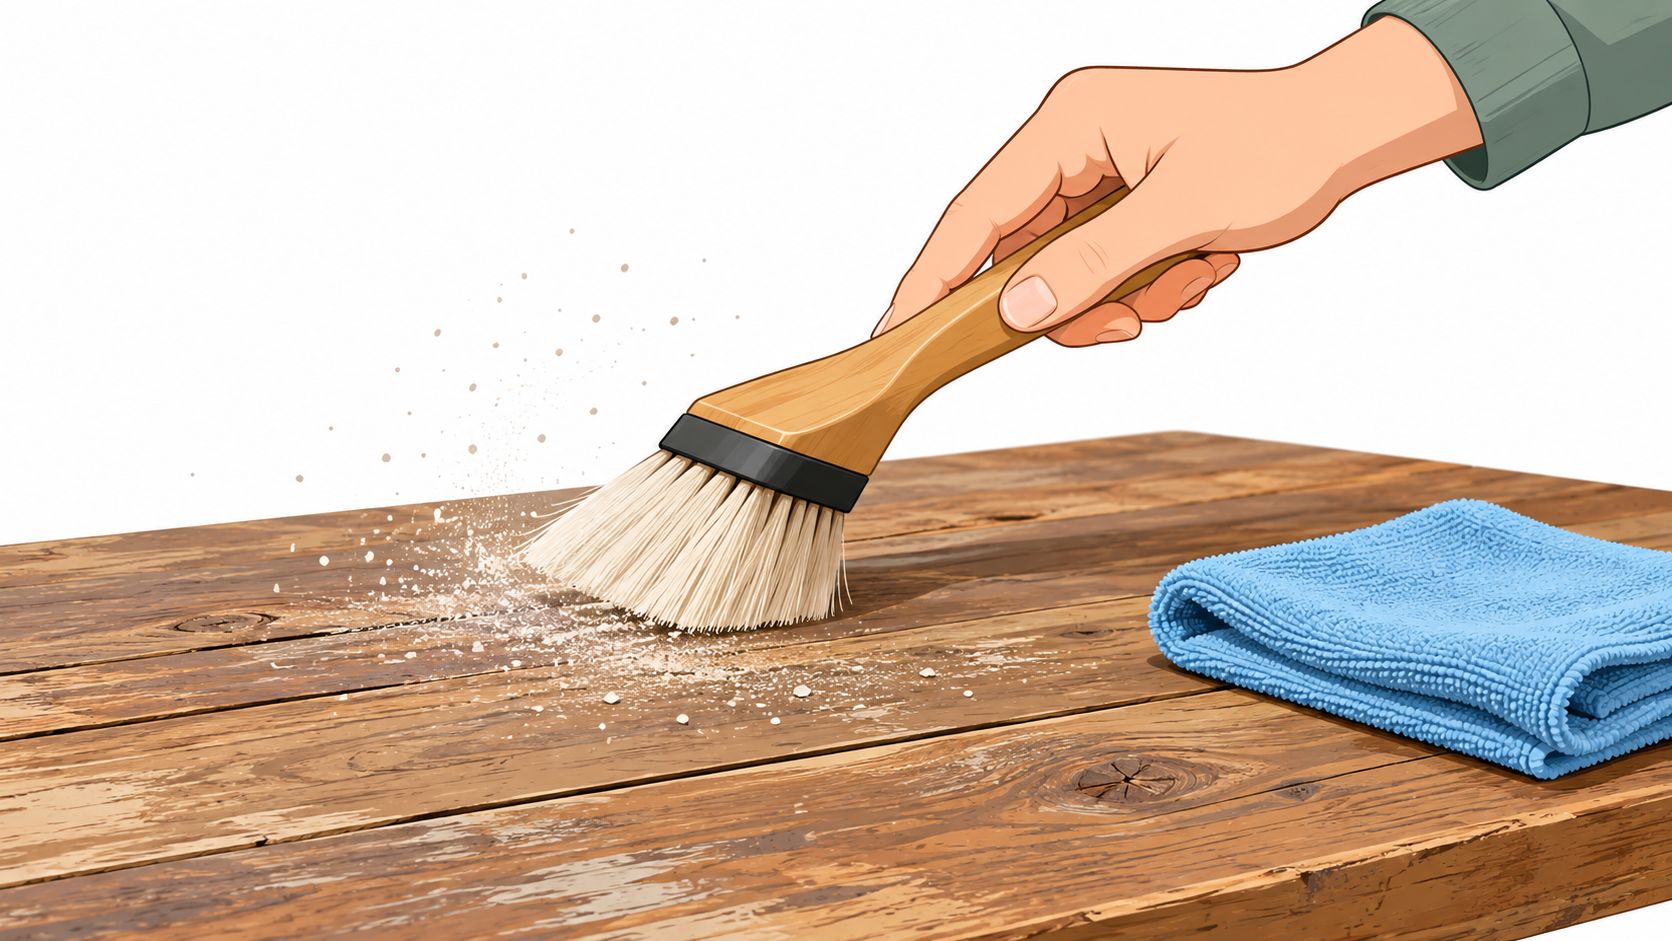
Remove loose grit first. Use a soft-bristle brush or microfiber cloth to lift dust from textured grain, joints, and old nail holes. Grit can act like fine sandpaper if it gets dragged across the finish.
Prepare a barely damp cloth. Dampen a microfiber cloth with water, then wring it until it feels nearly dry. A small amount of mild soap may be used when the surface has food residue or sticky marks. Care guides recommend mild, pH-neutral solutions rather than harsh chemicals, and warn against soaking the wood or allowing water to pool (reclaimed wood cleaning guidance).
Wipe with the grain. Work in small areas and follow the direction of the wood fibers. Don't scrub across raised grain, knots, or rough edges, where friction can disturb the surface.
Dry immediately. Use a clean, dry cloth to remove any remaining moisture. This step matters most around cracks, joints, and porous sections.
Distilled water can be useful on dark or highly finished surfaces because it reduces the chance of mineral marks. It still shouldn't be used generously. The cloth, not the furniture, should carry the moisture.
Monthly attention for textured surfaces
A monthly pass should reach areas a cloth can't clean easily. A vacuum with a soft brush attachment, used at low suction, can remove dust from crevices without pulling at loose fibers or old debris. Lift coasters, inspect the area beneath them, and check for sticky residue around dining spaces and cabinet handles.
Blot spills rather than wiping them over a larger area. A dry cloth should absorb the liquid first, followed by a barely damp cloth only if residue remains. Silicone-based furniture polishes and all-purpose sprays aren't good choices because buildup can cloud the surface or interfere with later maintenance.
Identify the Finish Before You Reach for a Cleaner
The same wood can respond very differently depending on what sits on top of it. Reclaimed furniture may be oiled, waxed, lacquered, coated with polyurethane, or covered with a combination of older and newer products. Before using anything beyond a dry cloth, the finish should be identified in a hidden area.
Start with a visual and touch inspection. An oil finish often looks matte and appears to soak into the wood. Wax can feel slightly grippy and usually buffs to a soft sheen. Polyurethane or conversion varnish tends to sit on top with a harder, more uniform surface.
Use testing as a safeguard
Solvent testing can damage a finish if handled casually, so testing belongs on an inconspicuous spot and should be done with care. A tiny amount of denatured alcohol may soften shellac, while lacquer thinner may soften lacquer. Those tests aren't suitable for a visible tabletop, and uncertainty is a good reason to stop rather than escalate.
A water-spot test can offer another clue. Place a small drop in a hidden location and observe it briefly. If the drop beads cleanly, the surface is likely sealed. If the wood darkens quickly, it may have an absorbent oil or wax finish, which means water-based cleaners should be avoided or used only with extreme restraint.
| Finish Type | Surface Feel | Solvent Test |
|---|---|---|
| Oil | Matte and absorbed into the wood | No aggressive solvent test recommended |
| Wax | Slightly grippy, soft sheen after buffing | Avoid solvent testing unless guided by a professional |
| Shellac | Smooth film that may be older and delicate | A tiny denatured alcohol test may soften it |
| Lacquer | Hard film that can soften under the wrong product | A tiny lacquer-thinner test may soften it |
| Polyurethane or conversion varnish | Hard, sealed, plastic-like sheen | Solvent testing is best left to a professional |
Guessing wrong is one of the easiest ways to cause damage. A product suitable for a hard sealed finish may dull or strip wax, while solvent that helps identify shellac or lacquer can mark the surface if overused. A plain-language overview of natural wood finishes can help with the broader finish vocabulary, while this resource on how to choose the right white finish offers useful context on distinguishing surface treatments from coatings.
Safe Cleaners and What to Avoid by Finish Type
Once the finish is known, cleaner selection becomes much less mysterious. The safest general principle is to use a mild, pH-neutral product sparingly, test it in a hidden spot, wipe along the grain, and dry immediately. Guidance for wood furniture also supports a mild soap-and-water solution and recommends testing before cleaning the visible surface (wood furniture cleaning advice).
A finish-specific reference
| Finish Type | Safe to Use | Avoid | Notes |
|---|---|---|---|
| Oiled | A small amount of diluted mild soap, or a product intended for oiled wood | Ammonia, bleach, alcohol-based cleaners, abrasive products | Oil finishes may need periodic re-oiling to prevent a rough or stained feel |
| Waxed | A dry microfiber cloth, followed by a barely damp cloth for limited residue | All-purpose sprays, vinegar, alcohol, soaking water, silicone polish | Too much moisture or solvent can soften, streak, or remove wax |
| Polyurethane | Mild dish soap diluted in water, applied with a barely damp microfiber cloth | Abrasive powders, ammonia, bleach, strong solvents | The sealed film resists ordinary spills, but standing moisture can still reach edges and joints |
| Shellac or lacquer | Dry dusting and cautious spot cleaning; denatured alcohol only for controlled shellac testing | Alcohol on lacquer, lacquer thinner on visible areas, ammonia, bleach, vinegar | These finishes can soften quickly under the wrong solvent |
Murphy's Oil Soap, diluted according to its label, may suit some oiled surfaces, but it shouldn't be treated as a universal reclaimed-wood cleaner. Waxed furniture usually calls for the least product possible, often just a dry cloth and carefully controlled spot cleaning. Polyurethane can tolerate a mild dish-soap solution, but that doesn't make soaking acceptable.
Mixed or unknown finishes should be treated as the most delicate surface in the room. Use dry dusting first, then the smallest possible amount of mild soap and water in a hidden spot. Avoid ammonia, bleach, alcohol-based products, abrasive cleaners, silicone sprays, and vinegar unless a finish professional has confirmed compatibility.
More general guidance on caring for wood furniture can help establish a household routine, but the finish still determines what belongs on a particular reclaimed piece.
Spot Treatment for Stains, Rings, and Mildew
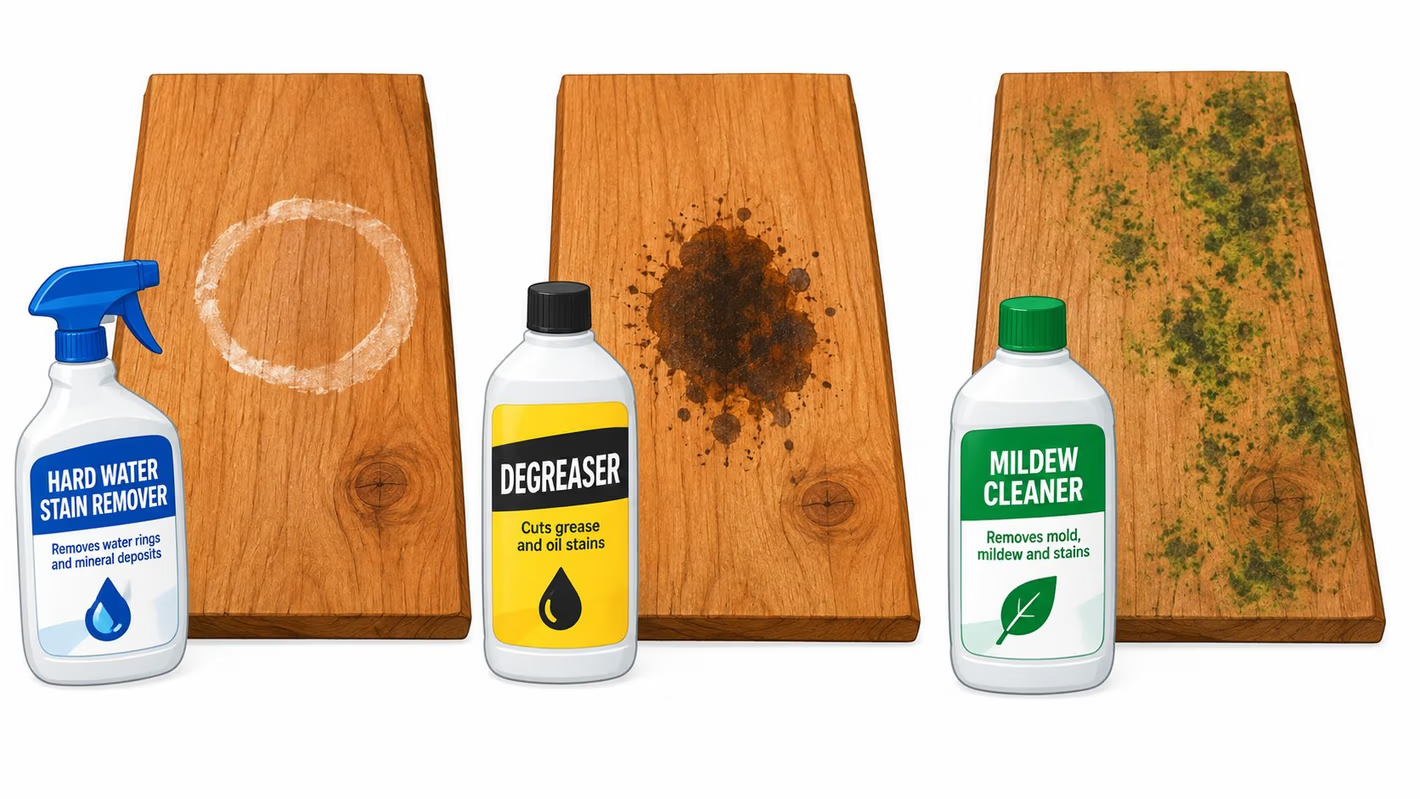
Every stain deserves the same first move: blot dry and don't rub. Rubbing spreads the mark and can drive it into open grain. Any treatment should be tested in a hidden corner before it reaches the center of a tabletop.
White water rings
A pale ring often indicates moisture trapped in or beneath part of the finish rather than a deep wood stain. After drying the area, a small amount of non-gel toothpaste or a very light baking soda paste can be worked with a soft cloth along the grain. Pressure should remain gentle, and the treatment should stop if the sheen changes.
Do not use a paste on a fragile, flaking, or unknown finish without testing. If the ring doesn't improve quickly, continued rubbing may remove more finish than it removes stain.
Grease and oil marks
Grease responds better to absorption than immediate wet cleaning. Cover the area with cornstarch or talc and let the powder draw out surface oil before removing it with a soft brush. Only then should a mild soap solution be considered, and only on a finish that can tolerate it.
Mildew and persistent discoloration
Mildew from a damp garage or barn needs ventilation, gloves, and controlled moisture. A diluted oxygen-bleach solution is generally a gentler choice than chlorine bleach, but the surface must still be tested first and dried thoroughly. Raw or unfinished wood absorbs liquid quickly and may discolor unevenly when moisture sits on it (care for unfinished wood).
Stop home treatment when dark staining spreads beneath the finish, odor remains after surface cleaning, mold appears active or extensive, or the wood begins to soften. Deep cracks, loose joints, and finish that lifts with the cloth also call for a refinisher. For older pieces, cleaning antique wood furniture offers a useful reminder to dust first, test discreetly, work in small areas, and dry without delay.
Protective Maintenance That Extends the Life of the Wood
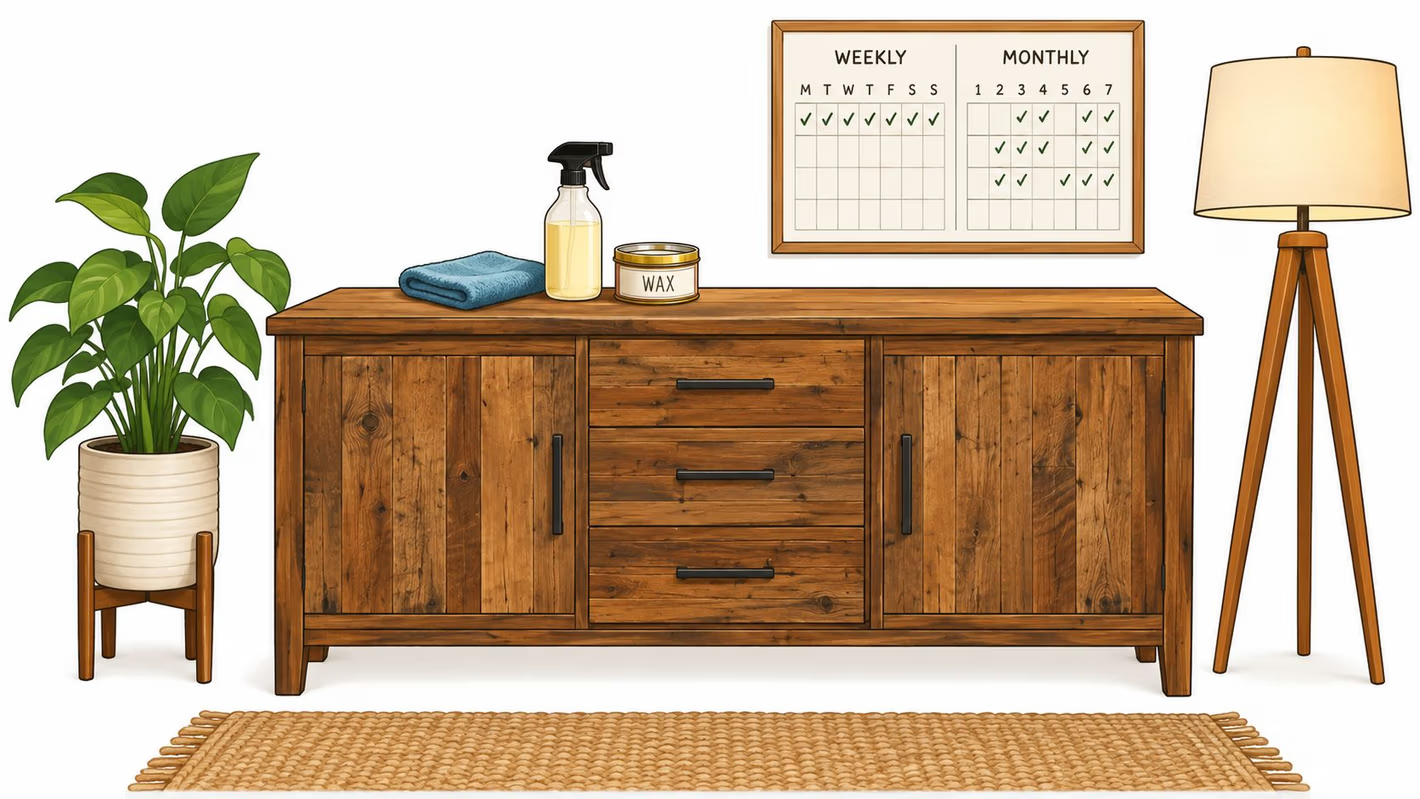
Cleaning removes what shouldn't be on the furniture. Protective maintenance helps the surface handle ordinary life afterward. A practical rhythm is weekly microfiber dusting, monthly deeper cleaning, and a protective refresh based on the finish and how heavily the piece is used.
Waxed pieces may need maintenance waxing about once a year. Oiled pieces can require light re-oiling once or twice a year, while some care guidance recommends re-oiling every three to six months for certain reclaimed wood finishes (reclaimed wood oiling guidance). Those schedules aren't interchangeable. The finish manufacturer's recommendation should take priority.
Control the room as well as the surface
Reclaimed wood responds to its surroundings. Keep room humidity reasonably stable, limit direct sunlight on tabletops, and avoid placing furniture beside strong heat sources. Felt pads under lamps and decorative objects reduce scuffs, while coasters prevent repeated moisture marks beneath drinks.
A dresser or console exposed to a bright window can benefit from occasional repositioning, where the room allows it. This helps prevent one area from fading while another remains protected.
For broader ideas about protective coatings and surface preparation, these deck finishing tips from SuperiorPRO provide useful general context, though indoor reclaimed furniture requires products specifically suited to interior finishes.
Seasonal habits worth keeping
- Inspect the finish: Look for dull patches, rough areas, lifting edges, or fresh cracks.
- Check contact points: Replace worn felt pads and inspect beneath lamps, bowls, and planters.
- Refresh carefully: Re-wax or re-oil only when the finish calls for it and after a hidden-spot test.
- Watch sunlight: Move accessories and adjust placement so fading doesn't concentrate in one area.
- Clean before protecting: Never apply wax or oil over grit, sticky residue, or damp wood.
A practical guide to protecting wood furniture from scratches and stains can help turn those small habits into a repeatable household routine.
When to Call a Pro or Consider Refinishing
Home cleaning has a clear limit. A professional should assess the piece when dark staining covers a broad area, the finish flakes or peels in sheets, structural cracks run through the board, odors persist, or active mold extends beyond a small surface patch.
Refinishing may make sense when high-use areas have worn through to bare wood or the existing color no longer works in the room. A simple wax or oil refresh is usually the more sensible repair when the finish is intact but looks dry or uneven. The choice depends on the condition of the wood, the value of its patina, the time the furniture can be out of service, and the risk of removing original character.
Aggressive sanding can erase saw marks, old tool impressions, and color variation that give reclaimed boards their identity. A refinisher experienced with aged wood should inspect the surface before stripping anything. Information on cleaning varnish off wood surfaces can help explain why finish removal is a specialized job rather than a routine cleaning step.
Gates Home Furnishings has served Southern Oregon since 1946, guided by George Gates Jr.'s original promise of “Service and Value.” The 30,000-square-foot Grants Pass showroom includes Unique Finds such as reclaimed wood, teak, and one-of-a-kind statement pieces, alongside brands including La-Z-Boy, Flexsteel, Ashley, and Beautyrest. Customers can also ask about Gates Easy Pay, including $0 down, 6-month interest-free options, and no-credit-needed financing, while white-glove delivery includes professional assembly and mattress haul-away rather than dropping boxes at the door.
For a reclaimed wood table, console, or statement piece that deserves the right care from the start, visit Gates Home Furnishings online or at the Grants Pass showroom. The team serves Grants Pass, Medford, Central Point, Ashland, and the broader Rogue Valley with distinctive furniture, practical guidance, flexible Gates Easy Pay options, and delivery support that includes setup.