How to Clean a Recliner Without Ruining the Upholstery

A coffee ring sits on the armrest, dust has settled into the footrest seam, and the recliner now looks like it needs a hard scrub. That reaction is understandable, but aggressive cleaning is how a small mark becomes a blotch, a stiff patch, or a mechanical problem.
A recliner isn't an ordinary upholstered chair. It has high-contact zones, deep seams, moving joints, and, in a power model, wiring and a motor beneath the upholstery. The safest method for how to clean a recliner starts with the care tag, then separates surface cleaning from hardware care.
Why Recliner Cleaning Deserves Its Own Playbook
On the Grants Pass showroom floor, a customer may point to a coffee mark on an armrest and assume a quick dose of soap will solve it. That approach misses what sits beneath the cushion. A recliner can contain a motor housing, an extension bar for the footrest, moving pivots, and stitching that holds moisture close to the frame.
A regular chair mostly asks for upholstery care. A recliner asks for upholstery care and mechanical awareness. Excess water can leave fabric uneven, reach internal components, or remain trapped in foam. The wrong cleaner can alter the finish, damage the nap, or create a problem that ordinary household products won't reverse.
Practical rule: The care code comes before the cleaner, not after the stain.
Find the tag before choosing a product
Most recliners use standardized upholstery codes. The major-market system uses W, S, WS, and X. W indicates water-based cleaning, S indicates solvent-only cleaning, WS permits either method, and X limits care to vacuuming or light brushing, according to this upholstery care reference.
The tag is commonly stitched beneath a seat cushion or on the deck fabric. On some models, it may be tucked near the base. Power recliners can place it close to the motor bracket, so the seat area deserves a careful inspection before any liquid is used.
A recliner guide can also help shoppers understand how construction, padding, and upholstery choices affect daily care. The ultimate recliner buying guide is useful before replacing a damaged chair or choosing a model that fits a household's maintenance habits.
Use two separate tracks
The first track handles upholstery: remove loose soil, identify the material, test the product, and apply the smallest suitable amount. The second track handles the machine: disconnect power, vacuum crevices, keep moisture away from switches and motors, and inspect moving joints.
That division prevents the most common error, treating the entire recliner as one washable object. The chair may look like one piece, but its fabric, leather, electronics, and hardware don't tolerate the same treatment.
Reading Your Cleaning Code Before You Touch Anything
A recliner can look clean and still be one wrong spray away from permanent damage. Before treating a mark, find the care label and read its code. The code sets the acceptable cleaning category, but it does not approve every upholstery product or replace a hidden-area test.
Upholstery Cleaning Codes at a Glance
| Code | Approved Cleaners | Tools and Methods |
|---|---|---|
| W | Water-based cleaner | Vacuum first, then use a carefully controlled water-based method |
| S | Solvent-only cleaner | Vacuum first, then use a code-approved solvent method |
| WS | Water-based or solvent cleaner | Choose the gentler suitable method after testing |
| X | No liquid cleaner | Vacuuming or light brushing only, or professional handling |
A W code permits consideration of a mild water-based solution. An S code means water is not the safe default, even if the spot appears minor. WS, sometimes written W/S, allows either category after testing. X means keep liquid off the upholstery and limit care to vacuuming or light brushing, unless a qualified furniture-care professional handles it.
For a closer explanation of fabric types and their care limits, use this upholstery materials guide.
Where the label hides
Inspect methodically. Do not pull or stretch the upholstery while searching:
- Between the seat and armrest, especially around removable or loose cushions.
- Beneath the seat cushion, on the deck fabric or frame-facing side.
- Near the underside of the footrest panel, where care information may be placed.
- Inside a back flap, on models with a loose rear panel.
- Under the seat near the motor bracket, particularly on power recliners.
A missing or unreadable label makes liquid cleaning a poor gamble. A furniture-care service can identify the material and recommend a method without forcing a guess.
Ignoring the code can leave watermarks, move dye, harden the texture, or change a microfiber nap. It may also create a warranty dispute if the manufacturer specifies another method. Use the code before choosing any cleaner, then treat the upholstery separately from the recliner's motors, switches, seams, and moving hardware.
Weekly Maintenance That Prevents Most Deep-Clean Disasters
Routine soil removal is more useful than occasional punishment. Grit carried into the weave acts like fine abrasion as people sit, shift, and recline. A regular vacuuming rhythm removes that material before it settles into seams and cushions.
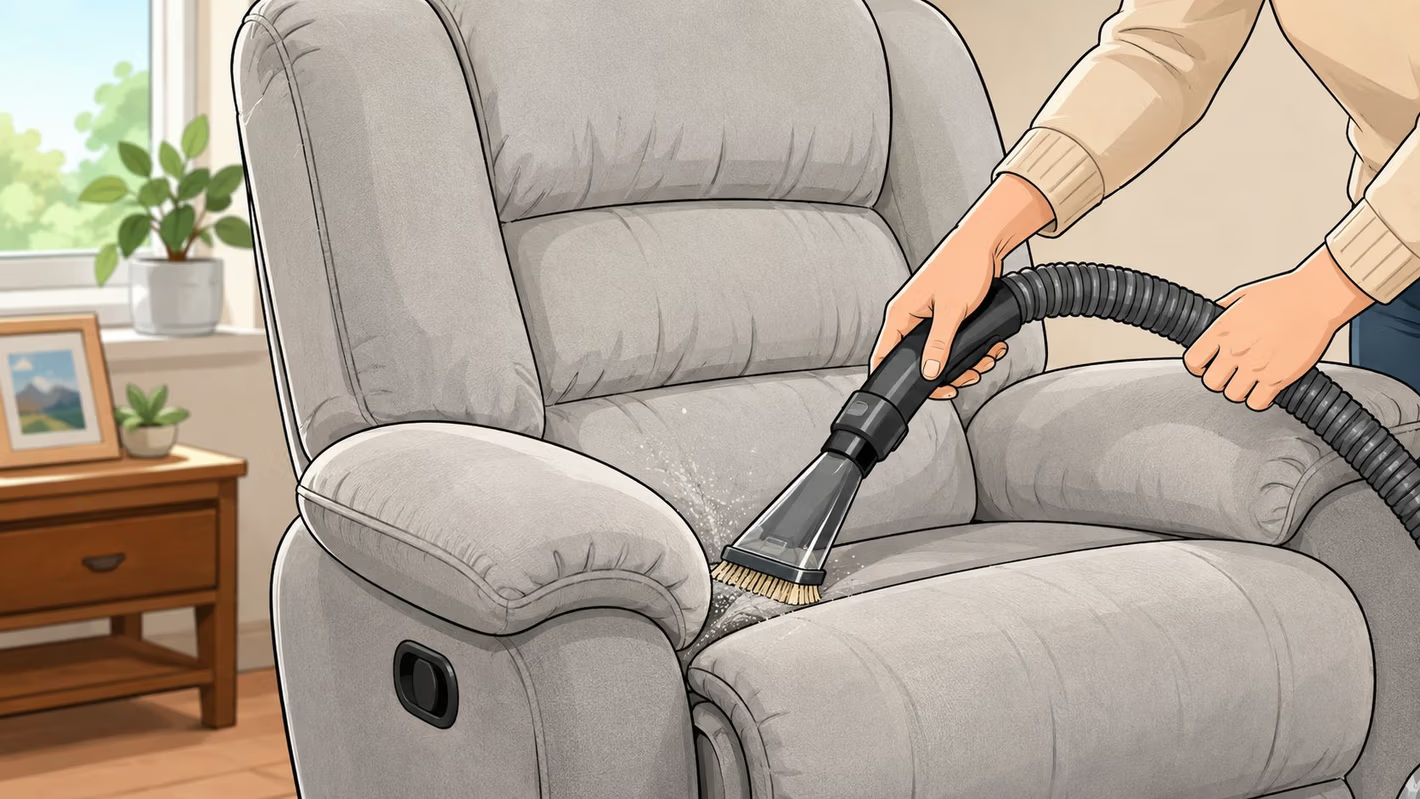
Start with the chair fully open
Place the recliner in its reclined position so the footrest, headrest wings, seat waterfall, and back-to-seat area become accessible. Fit the vacuum with a soft-bristle attachment and move slowly over the entire surface. A crevice tool belongs in seams, not against delicate fabric at full suction.
Give extra attention to the areas that receive the most contact:
- Arm caps, where hands transfer skin oils and dust.
- The headrest crown, where hair and skin oils collect.
- The lumbar area behind the knees, where clothing and body contact meet.
- The footrest pad, which catches crumbs and outdoor grit.
- The inside seam between back and seat, where loose soil disappears.
With a W-coded fabric, a microfiber cloth lightly dampened with water can lift surface oils after vacuuming. S-coded upholstery should stay dry, so a dry soft brush is the safer choice. Care guidance also recommends fabric furniture protection practices such as checking the code and blotting spills promptly with a suitable cloth.
Don't neglect the mechanism
Extend the footrest completely and vacuum the exposed extension area with a crevice tool. Pet hair, crumbs, and small objects can migrate toward joints, where they interfere with movement.
A quick maintenance check should include:
- Cushion position: Rotate a reversible cushion if its construction allows it.
- Back pillows: Fluff loose pillows so filling doesn't remain compressed in one zone.
- Seams: Look for loose threads before they become tears.
- Controls: Check that switches and cables remain clear of debris.
- Footrest movement: Listen for rubbing or hesitation during a slow test.
A calm weekly pass is easier on the upholstery than repeated spot scrubbing. It also makes a later stain treatment smaller, drier, and more controlled.
Cleaning by Material Without Damaging the Finish
Material determines the cleaner, but the care code still has the final say. A leather surface, microfiber nap, woven textile, and faux leather finish each respond differently to moisture and friction.
Every product deserves a hidden-area test first. Apply a small amount to an inconspicuous seam or underside, then observe the area for discoloration, stickiness, or texture change before treating visible upholstery.
Material-by-Material Cleaning Playbook
| Material | Cleaning Code Match | Safe Cleaner | Technique | What to Avoid |
|---|---|---|---|---|
| Genuine leather | Follow the manufacturer's leather guidance | Mild pH-safe leather cleaner | Dust, apply cleaner to a cloth, wipe lightly, dry, then condition | Dish soap, bleach, alcohol wipes, soaking |
| Microfiber | W, S, WS, or X as tagged | Code-matched water or solvent cleaner | Use a soft brush or terry towel with controlled pressure | Unapproved water, heavy saturation, rough scrubbing |
| Woven fabric | W or WS for approved liquid methods | Mild code-approved fabric cleaner | Blot the stain, lift residue with a damp cloth where allowed | Scrubbing, excess liquid, direct spraying |
| Faux leather | Follow the tag and manufacturer guidance | Soft damp cloth with a mild compatible soap solution | Wipe lightly and dry immediately | Harsh chemicals, alcohol, prolonged moisture |
Leather needs a dry hand
For genuine leather, vacuum creases and seams with a soft brush attachment. Follow with a lightly damp microfiber cloth, using a mild pH-safe cleaner only after testing. The cleaner belongs on the cloth, never sprayed directly onto the hide.
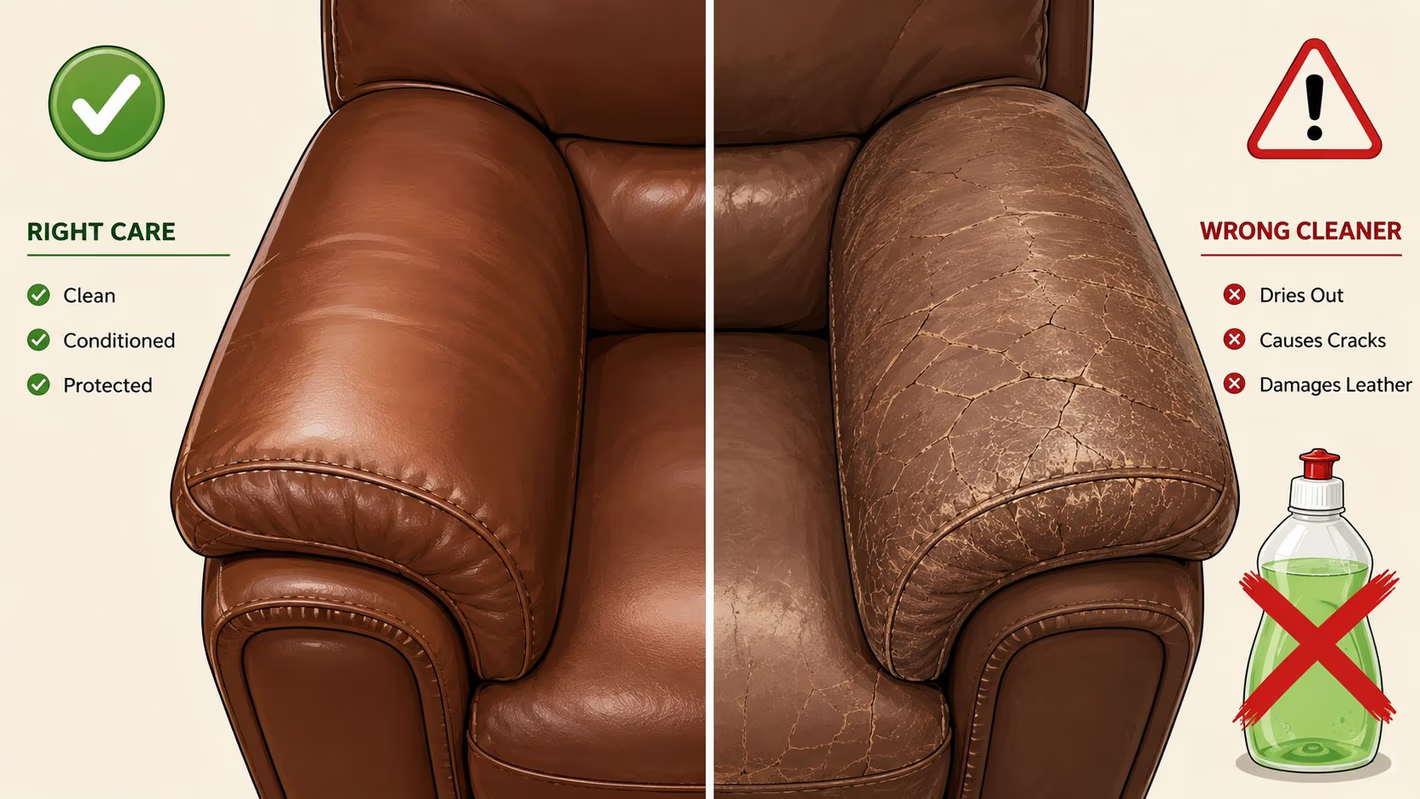
Work in small sections and wipe along the seam direction. Dry each section immediately with a separate cloth. Strong alkaline products, dish soap, bleach, and alcohol wipes can strip protective oils and harm the finish, while conditioning is commonly recommended every 6 to 12 months according to published recliner care guidance.
For additional leather-care perspective, The Sofa Cover Crafter's leather sofa cleaning guide offers useful context on treating leather as a finished material rather than washable fabric. The same restraint applies to recliners: light application, immediate drying, and no household spray chosen out of convenience.
Microfiber and woven fabric reward restraint
W-coded microfiber can accept a mild water-based foam when the tag allows it. Work with a soft brush and limited moisture, then lift residue rather than pushing it deeper. S-coded microfiber needs a solvent-based upholstery method, while X-coded microfiber should receive vacuuming or light brushing only.
Woven fabric stains should be blotted, not scrubbed. If the code permits it, a suitable enzyme or oxygen-based cleaner can be applied sparingly, followed by residue removal with a lightly damp cloth. For leather and furniture care, Gates' leather furniture guidance reinforces the value of vacuuming cushions and crevices before deeper attention.
Faux leather is especially unforgiving of harsh chemistry. A soft damp cloth with a small amount of compatible mild soap can remove surface soil, but the finish should be dried immediately. Excess moisture and aggressive cleaners can contribute to cracking in polyurethane surfaces.
Caring for the Hardware, Motors, and Moving Joints
A recliner is upholstery wrapped around a machine. Hardware needs its own cleaning track, and the first step is simple: disconnect a power recliner before cleaning it. Remove any backup battery if the model uses one, then keep moisture away from live components.
Clean controls without flooding them
Use a brush attachment to remove crumbs and pet hair around the footrest lever, side switch, USB ports, seams, and moving joints. A barely damp cloth can wipe exposed metal or plastic controls, but it should be followed immediately by a dry microfiber towel.
Never spray cleaner onto buttons, switches, ports, or seams. A sprayed product travels farther than a controlled wipe and can pass through gaps into wiring or motor housing.
Inspect the footrest hinge for threads and hair wrapped around a spring or pivot. Pull obstructions away by hand. A knife or sharp tool can scratch metal, cut upholstery, or damage a cable.
Treat movement as a mechanical inspection
Squeaking often needs less product than people expect. A single drop of silicone-based lubricant on an appropriate pivot pin can be more suitable than a general penetrating spray that attracts dust. Lubrication should stay on the joint, never on fabric or electrical connections.
After cleaning, run the recline and return cycle slowly. Watch for rubbing, hesitation, unusual noise, or a footrest that doesn't close evenly. Guidance for power reclining seating reflects the same separation between upholstery care and powered mechanisms.
That brief test can reveal a thread caught in a joint or a small object lodged beneath the footrest before the problem becomes a service call. If the motor behaves abnormally, stop using the chair and arrange qualified service rather than opening the housing.
Common Mistakes That Void Warranties and Ruin Upholstery
Most serious recliner-cleaning mistakes begin with good intentions. Someone sees a mark, reaches for the nearest household cleaner, and applies more pressure when the first pass doesn't work.
The cleaner isn't automatically safe
Dish soap may appear gentle, but leather care guidance warns against strong or unsuitable cleaners because they can remove protective oils and damage the finish. A hazy or dry surface may later crack, and conditioning can't always restore a finish that has already been stripped.
Soaking microfiber creates a different problem. Liquid can carry the stain into foam, leave drying rings, and trap odor inside the cushion. The safer correction is a code-matched product applied sparingly, with airflow afterward.
Scrubbing fresh spills is another common error. Friction pushes pigment deeper into the weave and changes the nap, especially on microfiber. Blot from the outside toward the center with a clean cloth, lifting soil instead of grinding it down.
Direct spraying creates hidden damage
Spraying a cleaner directly onto a seam can force liquid through stitching and into the frame. It may also reach switches, wiring, or a motor bracket. Apply the product to the cloth when the code permits a liquid method, and keep the cloth damp rather than wet.
The corrected process is short:
- Read the code: Identify W, S, WS, or X before selecting a cleaner.
- Remove loose soil: Vacuum seams and contact zones first.
- Test discreetly: Check for color and texture changes in a hidden area.
- Use less product: A small controlled application is safer than saturation.
- Blot and dry: Lift the stain, then provide airflow without direct heat.
- Document care: Keep product instructions and the care tag available for warranty questions.
A manufacturer may limit coverage when upholstery has been treated with an unapproved chemical or method. Code compliance isn't bureaucratic fussiness. It protects the material and gives a warranty claim a defensible care history.
Drying, Conditioning, and Long-Term Care in the Rogue Valley
清潔工作不會在污漬消失時結束。躺椅恢復使用前,布面、接縫與經常接觸的區域都必須乾透,否則殘留水分可能帶來異味、黏滯感,甚至讓污漬重新顯現。
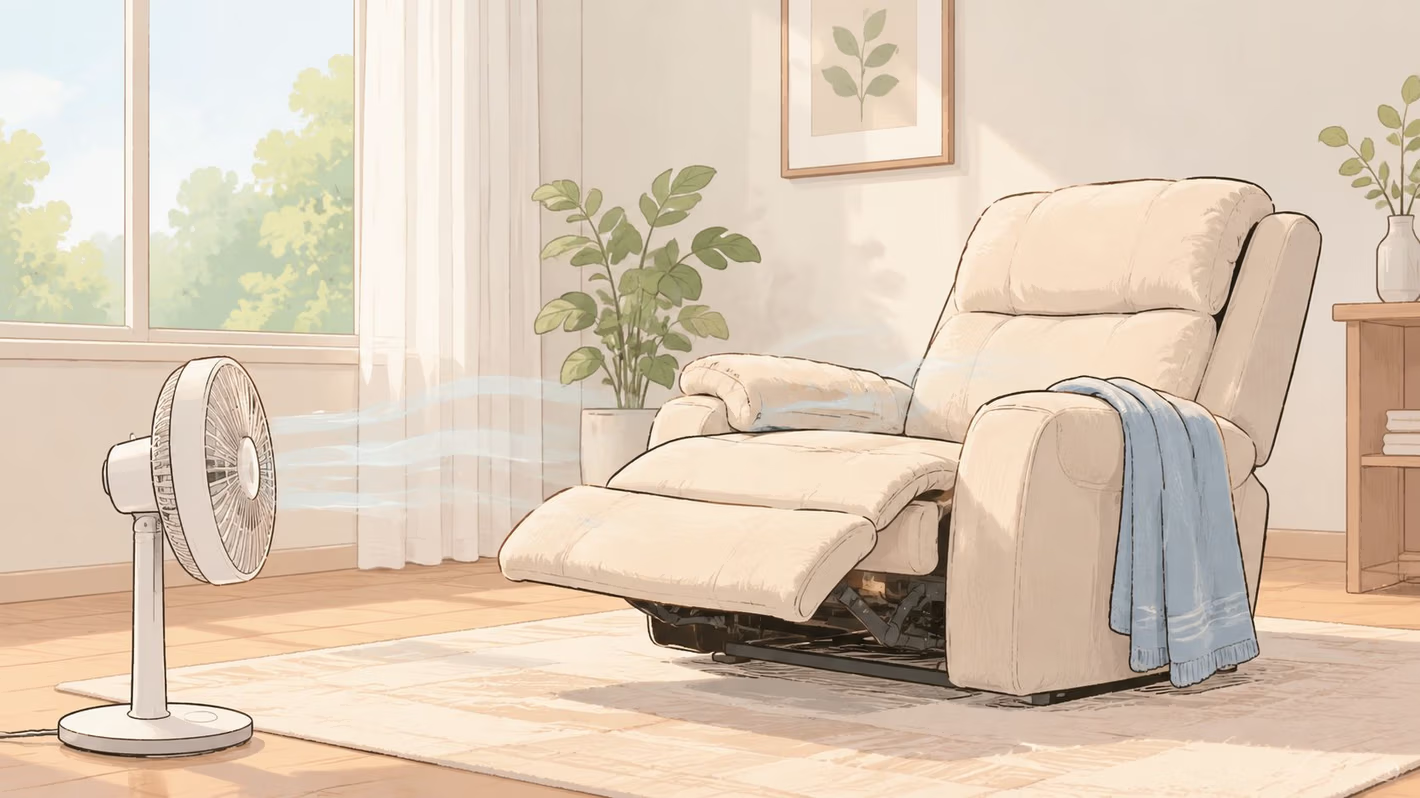
先用乾淨布按壓清潔區域,直到觸感只是潮濕,不再濕透。把腳踏板完全打開,讓空氣進入摺疊處與機械結構周圍。風扇或低熱風機可以從安全距離帶走水氣,但直接高溫可能使表面變形、讓皮革乾燥不均,也可能影響合成材質。
讓材質充分穩定
乾燥期間,讓躺椅避開 Rogue Valley 的直射陽光。強烈日照會加速皮革褪色,也可能使複合框架零件承受不必要的熱應力。保持空氣流動比加熱更穩妥,尤其是接縫與坐墊附近。
保養頻率要配合材質:
- 皮革: 溫和清潔後立即擦乾,並依照 manufacturer care guidance 每 6 至 12 個月 使用護理產品。
- 布料: 定期吸塵,依清潔代碼處理局部污漬,完全風乾後再使用。
- WS 布料: 只有在標籤允許時,才考慮定期進行較深入的布料安全處理。
- 仿皮革: 少量使用相容產品,並立即擦乾表面。
任何新產品都先在不顯眼處測試,觀察 24 小時 後再大範圍使用。這對表面有塗層的皮革或 PU 材質尤其重要,因為變色或黏膩感可能需要一段時間才會出現。完成測試後,若表面狀態穩定,再處理主要坐靠區域。相關躺椅皮革保養原則可參考 recliner leather-care guidance。
在 Rogue Valley 保護這項家具投資
對 Grants Pass、Medford、Central Point、Ashland 及整個 Rogue Valley 的屋主來說,合適的保養方式取決於確切的 upholstery code 與躺椅機械結構。Gates Home Furnishings 可協助顧客按照 La-Z-Boy、Flexsteel、Ashley 及 Beautyrest 等品牌躺椅,選擇相符的護理方式。展示空間達 30,000 平方英尺,購買前也能實際測試座感與支撐。
同一間在地家具店也販售以回收木材與柚木製成的 Unique Finds。這些家具需要依材質採用不同保養方式,不能用同一種清潔劑處理所有表面。Gates 由 George Gates Jr. 於 1946 年 創立,秉持 「Service and Value」 的理念。家具送達後遇到保養問題時,清楚而實際的建議仍然有用。
Gates Home Furnishings 提供躺椅、支撐型座椅、布面保養指引與保護方案,服務 Grants Pass 及 Southern Oregon 的住家。前往 Gates Home Furnishings 線上瀏覽系列,或親自到 Grants Pass 展示間,讓團隊協助你按照躺椅材質安排保養方式,並了解融資選項與專業配送服務。