
How to Clean Antique Wood Furniture Without Damage

A family heirloom can look sturdy enough to handle any household cleaner. A customer brings home a grandmother's mahogany sideboard, sees a dull film on the top, and reaches for a spray bottle. One wrong application can soften the finish, cloud the surface, or strip away the patina that gives the piece its history.
The safest answer to how to clean antique wood furniture is conservative: remove loose dust first, identify the finish, test every treatment in a hidden area, and use the least aggressive method that works. The process below follows the same minimal-intervention logic used in furniture conservation, translated for a home in Grants Pass, Medford, Central Point, Ashland, or elsewhere in the Rogue Valley.
Why Antique Wood Needs a Different Kind of Cleaning
Antique furniture isn't just old wood. It may carry shellac, lacquer, French polish, early varnish, paste wax, or a combination of finishes applied and reapplied over generations. Those surface layers become more vulnerable with age, especially around joints, veneer, carved details, and edges.
Pre-World War I furniture is often sensitive to water. Canada's conservation guidance recommends dry dusting with a soft cloth or using a cloth with odorless paint thinner, and advises dusting handled surfaces only once a year to limit wax buildup around metal fittings. The same guidance supports minimal intervention, because older finishes and adhesives can react poorly to moisture. Canada's conservation guidance for wooden furniture explains why a gentle, infrequent routine protects more than aggressive polishing.
The finish matters more than the cleaner. A method that's safe for a sealed modern surface can damage an antique French-polished top.
Household sprays, ammonia, silicone polish, abrasive pads, and excess water are poor choices for an heirloom. They can leave residue, soften the finish, create cloudy patches, or make later conservation more difficult. The objective isn't to make the furniture look factory-new. It's to stabilize the surface, remove soil carefully, and preserve the original character.
The seven-step approach is straightforward:
- Inspect first: Look for loose veneer, lifted edges, cracks, flaking finish, and evidence of previous repairs.
- Dust dry: Remove loose particles before introducing moisture or solvent.
- Identify the finish: Consider whether the surface is polished, waxed, lacquered, varnished, or sealed.
- Test privately: Try any cleaner in an inconspicuous spot and watch for color lift, clouding, or softening.
- Clean in small areas: Keep moisture and solvent exposure localized.
- Dry immediately: Never allow liquid to pool, sit in joints, or remain on the wood.
- Stop when the risk rises: A conservator should handle unstable finishes, deep stains, structural movement, and valuable original surfaces.
For broader household planning, the long-term furniture care guide from MG Self Storage offers useful context on protecting wood while it's stored or moved. For a piece with a distinctive design, such as an antique drum table with a leather top, the same rule applies: treat every material and finish according to its condition, not according to a generic furniture-cleaning recipe.
Start With Dry Dusting the Right Way
Dry dusting is the foundation of antique furniture care. Loose soil should come off before a damp cloth, detergent, or mineral spirits touches the surface. Dust mixed with moisture can become a paste, and that paste can settle into grain, carving, seams, and worn finish.
Use a clean microfiber cloth or a soft natural-bristle brush. Keep pressure light and move with the grain where the grain is visible. A cloth should lift dust, not grind it across the finish.
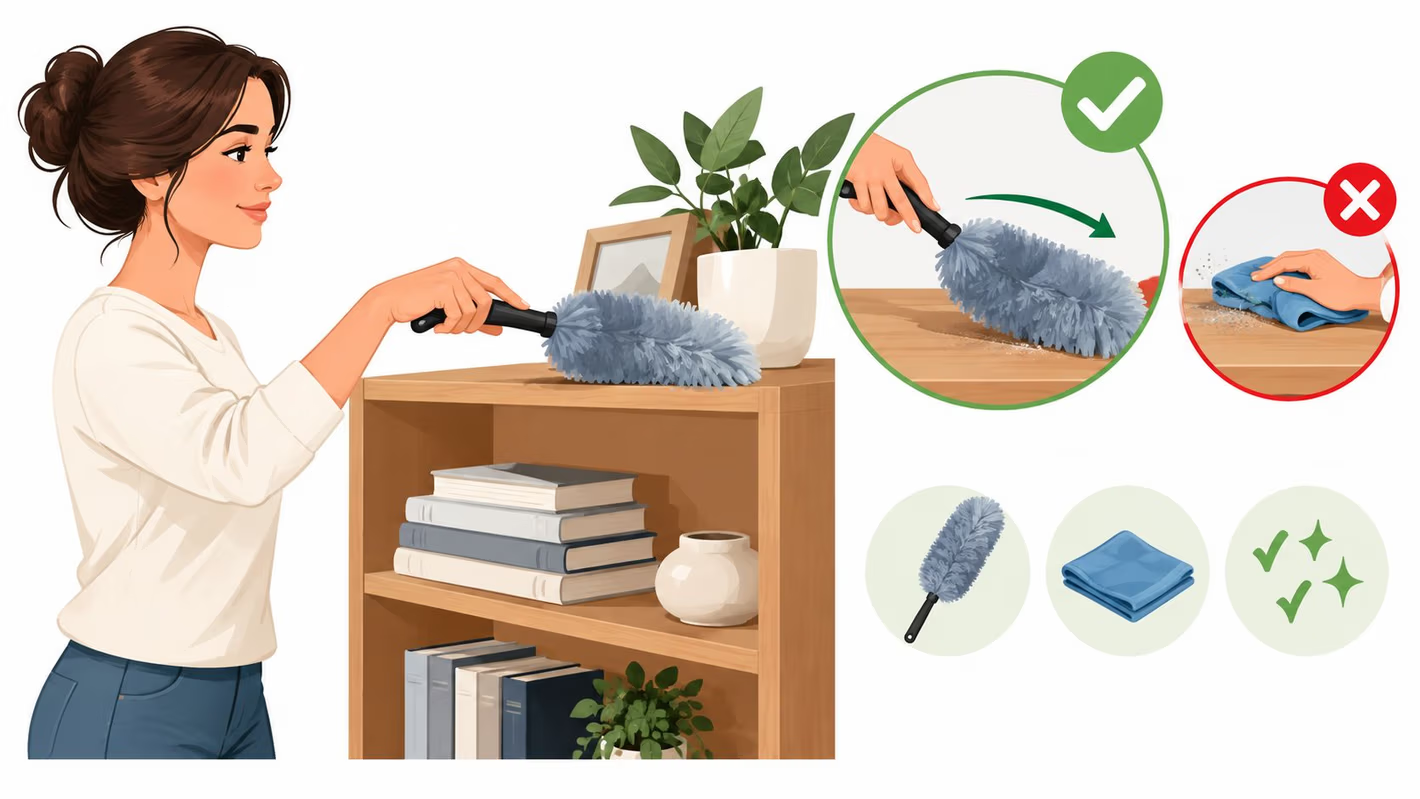
Clean the details where dust hides
Carved moldings, turned spindles, drawer seams, fluted legs, and joinery gaps need special attention. Dust compacts in these areas and can hold moisture against an aging finish. A soft brush loosens it without forcing particles deeper into the recesses.
A vacuum helps collect the debris. Use a clean soft brush attachment and low suction, keeping the nozzle close enough to capture loosened dust but never dragging a hard plastic nozzle over the surface. National Park Service guidance recommends a soft-bristled brush and vacuuming loosened debris from carved or creviced areas before wet cleaning. National Park Service guidance for wood objects supports this dry-first sequence.
Avoid tools that leave their own problems
Feather dusters can snag on fragile veneer, carved projections, or loose edges. Oily dusting cloths can smear residue and make a dull surface look temporarily glossy without removing the underlying soil. Disposable treated wipes may also leave an unknown coating behind.
A clean cloth should be replaced or folded to expose a fresh section as soil accumulates. The dust and allergen-free bedroom care guide from Gates Home Furnishings reinforces the practical value of regular dry dust removal, but antique pieces demand especially light handling.
For many heirlooms, thorough dry dusting is all that routine cleaning requires. If the surface looks clean afterward, stop there. The safest cleaning session is often the one that never progresses to liquid.
Choosing and Testing a Gentle Cleaner
Cleaner selection starts with finish identification. A polished or unsealed surface should stay dry. A waxed or polyurethane-coated surface may tolerate a slightly moistened sponge, but water must never remain on the wood. Museum guidance from the Australian Museum makes this distinction clearly, especially for waxed and polyurethane finishes versus polished surfaces such as French polish. Australian Museum guidance on wooden surfaces is a useful reference before any wet treatment.
For a stable, sealed finish, use a soft cloth barely dampened with a weak pH-neutral detergent solution. Conservation guidance from The Henry Ford specifies about 1% detergent in water, applied with cotton balls or a soft cloth, followed by distilled-water rinsing and immediate drying. Other conservation standards recommend a weak soap solution of at least 1:50, along with a hidden-area test before broader cleaning. The Henry Ford's wood-care guidance shows how little detergent is needed.
Mineral spirits can be appropriate for old wax grime or oily buildup on compatible finishes. Use odorless mineral spirits on a soft cloth or cotton swab, never by pouring it onto the furniture. Work in a small area, wipe lightly, and dry-buff immediately.
Test before cleaning the visible surface
Choose a hidden spot under a rail, behind a leg, or inside a drawer. Apply the smallest amount possible, then wait several minutes while checking for:
- Clouding: A white or hazy reaction can signal finish sensitivity.
- Softening: A tacky or smeared surface means the cleaner is affecting the coating.
- Color lift: Brown, amber, or colored residue on the cloth may indicate finish removal.
- Texture change: Swelling, raised grain, or a tide mark means the method should stop.
| Finish Type | Recommended Cleaner | Avoid |
|---|---|---|
| French polish or polished wood | Dry cloth or soft brush only | Water-based cleaning and saturated cloths |
| Stable sealed finish | Barely damp cloth with a weak, pH-neutral detergent solution | Excess water, ammonia, abrasives, and silicone products |
| Waxed or polyurethane-coated surface | Slightly moistened sponge after dust removal, followed by immediate drying | Allowing water to sit or pool in joints |
| Compatible finish with old wax grime | Odorless mineral spirits on a soft cloth, tested privately | Broad solvent application and aggressive rubbing |
Avoid furniture sprays, silicone products, ammonia, abrasive sponges, vinegar solutions, and excessive water. A melamine cleaning sponge can abrade the finish, even when the mark seems minor. The Eagle Restoration mold cleaning guide provides additional context for handling mold concerns, but active mold on an heirloom deserves professional assessment rather than casual household treatment.
Gates Home Furnishings also publishes a wood furniture care guide with practical advice on mild cleaning, soft cloths, wiping with the grain, and drying completely. The essential rule remains simple: use minimal moisture, wipe quickly, and stop if the finish reacts.
Dealing With Old Wax and Polish Buildup
A cloudy, sticky, or uneven surface doesn't always mean the wood has lost its luster. It often means generations of polish have accumulated on top of the original finish. Before reaching for another product, inspect what's already there.
Paste wax usually feels smooth and firm, with a faint solvent smell. It can protect a stable finish and may be worth leaving intact. Silicone-heavy spray polish feels slippery and tends to smear, while oil treatments can penetrate the surface and become difficult to reverse.
Decide what the surface is telling you
If the wax is sound, dry, and not obscuring carving or veneer detail, it doesn't need to be stripped. After gentle cleaning, a very thin fresh coat of compatible paste wax may be appropriate, followed by careful buffing. More wax isn't more protection. Thick layers attract dust, collect around fittings, and create the dull film that prompts unnecessary cleaning.
Removal makes sense when buildup feels sticky, traps soil, hides decoration, or produces uneven patches. It shouldn't happen because the furniture doesn't look like a new showroom piece. Original surface material has historical value, and removing it can permanently change the object.
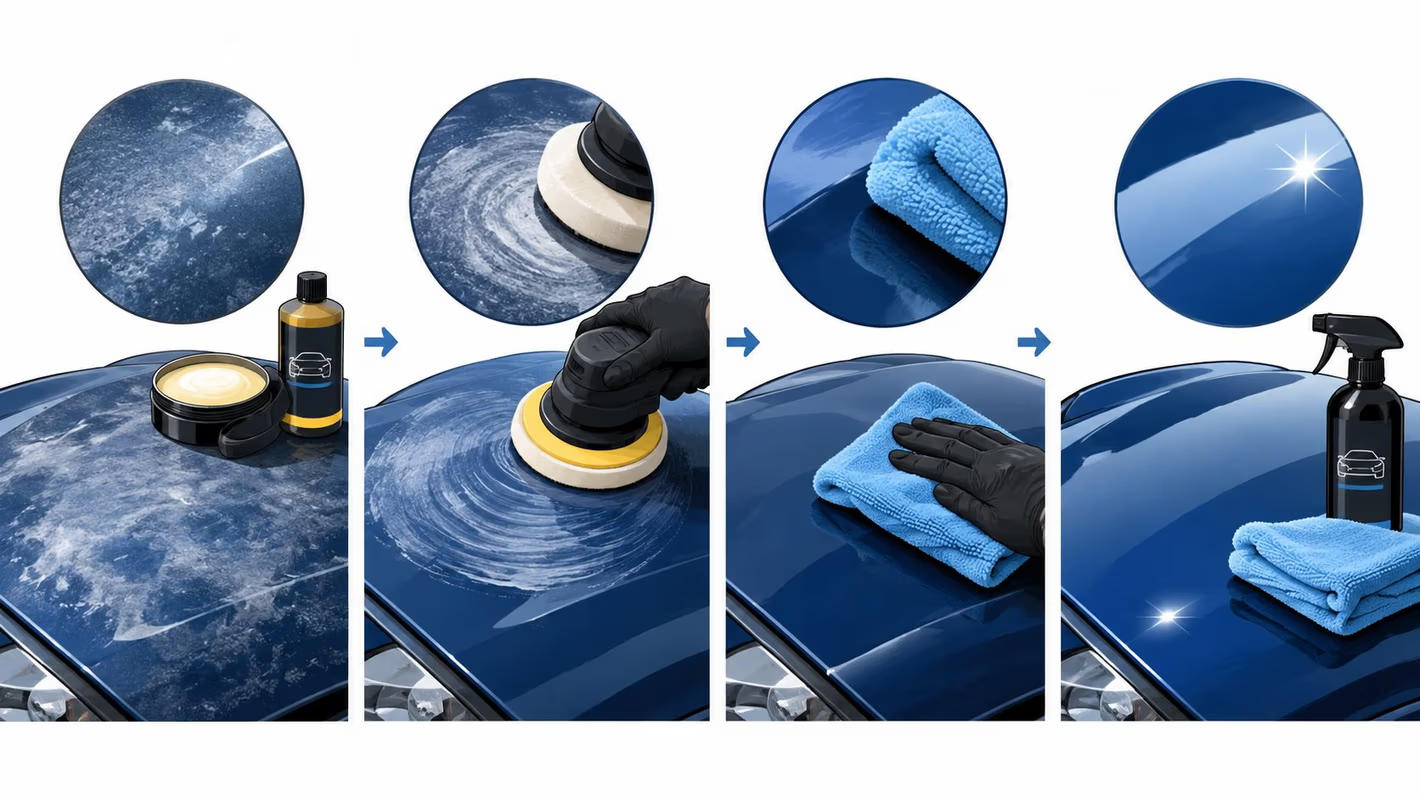
Remove buildup in controlled patches
Put a small amount of odorless mineral spirits on a soft cloth. The cloth should be damp, not wet. Work in a small section, follow the grain, and watch the cloth and surface continuously.
Stop if the finish becomes tacky, cloudy, or discolored. Never scrape hardened residue with a blade, card, or abrasive pad. Solvent should never be allowed to run into joints, veneer edges, or openings around hardware.
For a teak piece or a surface with a different finish history, the guide to restoring teak offers useful material-specific background. Antique wax buildup is a condition problem, not a polishing contest. The right result is a stable, readable surface with its character preserved.
Tackling Stains, Rings, and Dull Spots
Stains need a graduated response. The lighter the mark and the more stable the finish, the more reasonable a careful homeowner treatment becomes. Deep or dark damage usually means moisture has traveled beneath the finish, where surface polishing won't solve the problem.
Start with the least invasive option
White water rings on shellac or lacquer may sit within the finish rather than inside the wood. A cautious approach can involve a small amount of non-gel toothpaste as mild abrasion, or a barely damp cloth followed by immediate drying. Any abrasion should be light, localized, and tested first. If the mark improves, the surface may need compatible waxing afterward.
Dark rings are different. They often indicate water penetration through the finish into the wood. Don't sand, bleach, or flood the area in an attempt to even out the color. That's the point where a furniture conservator should assess the piece.
For dark spots or ink stains, a targeted hydrogen peroxide treatment under cotton and waxed paper is sometimes used in conservation work. It isn't a casual whole-surface cleaner. The treatment should be confined to the stain, tested privately, and stopped if the finish changes.
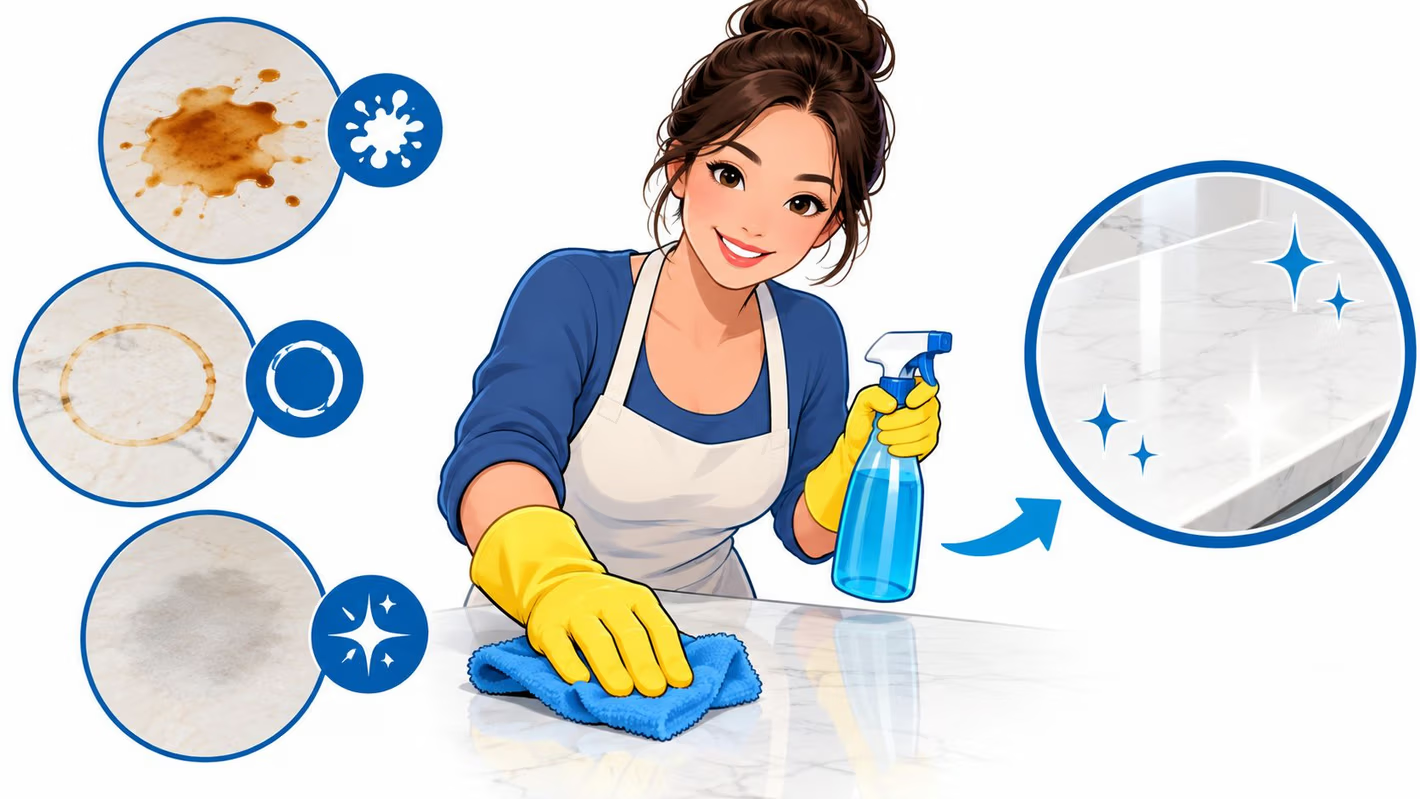
Diagnose dullness before trying to restore shine
Dull spots often come from dried wax, residue, or uneven polish rather than a failed finish. Dry dust the area first. If residue remains and the finish has passed a hidden test, mineral spirits on a soft cloth may remove the buildup.
National Park Service furniture guidance recommends cleaning a small area with a well-wrung cloth and drying each area before moving on. National Park Service furniture conservation instructions also emphasizes removing loose soil first and keeping the cloth controlled.
The stop-list is firm:
- Cracked finish: Stop before rubbing across the fracture.
- Lifting or flaking: Don't clean over unstable finish.
- Loose veneer: Keep moisture and solvent away from raised edges.
- Deep dark rings: Seek conservation treatment.
- Uncertain stains: Don't escalate to bleach, sanding, or refinishing.
- Sentimental heirlooms: Document the condition before treatment.
The guide to protecting wood furniture from scratches and stains adds practical prevention advice. Prevention is preferable to stain removal, especially when the original finish is already thin.
Humidity, Sunlight, and Long-Term Storage
Cleaning can't compensate for poor placement. Wood responds to moisture and temperature changes, while finishes respond to light. A well-cleaned antique can still develop cracks, joint movement, veneer lifting, or fading if the room environment keeps shifting.
A practical indoor target is 40 to 55 percent relative humidity. Use a basic hygrometer to monitor the room, especially through Southern Oregon's dry winter conditions. A humidifier may help when indoor air becomes too dry, but it should be used carefully and kept away from the furniture itself.

Choose a stable location
Keep antique furniture away from heating vents, fireplaces, and exterior walls that experience sharp temperature swings. Don't place a sideboard where warm air blows directly across one end while the other remains cool. Avoid direct southern and western sun when possible. Ultraviolet exposure can break down shellac and lacquer and can fade the wood beneath.
Window treatments or UV-filtering film can reduce direct exposure. Curtains also help prevent a polished top from heating unevenly during bright afternoons.
Store antiques so air can circulate
For furniture that won't be used regularly, clean it before storage and wrap it in breathable cotton. Plastic sheeting traps moisture against the surface and can create a damaging microclimate. Raise the piece off concrete floors with pallets or risers, and leave enough clearance for inspection and airflow.
Storage should be clean, dry, and stable rather than sealed tight. Check periodically for insects, mold, new lifting, or changes in the finish. The unglamorous habits matter most because they reduce the environmental stress that creates repair problems later.
When to Call a Professional Conservator
DIY cleaning ends when the finish or structure becomes unstable. A conservator should take over if veneer is lifting or chipping, joints are loose, water damage is deep, white haze appears trapped inside the finish, mold is active, or the original finish is flaking. Sentimental or monetary importance is another reason to document the piece before touching it.
A furniture conservator doesn't make an old piece shiny. The process generally begins with condition assessment, photographs, and a treatment proposal. The conservator may prepare a written condition report, explain risks, and select interventions designed to remain as reversible as possible.
That differs from refinishing. Refinishing often removes or replaces the existing surface, while conservation aims to retain original material wherever practical. A general repair shop may be skilled at structural work but may not have the same focus on historic finishes, documentation, or reversibility.
Find the right specialist
Useful starting points include:
- Professional directories: Search the American Institute for Conservation referral directory.
- Museum recommendations: Ask regional museums or cultural institutions whether they can identify qualified furniture conservators.
- Regional conservation centers: Look for specialists serving Southern Oregon and the broader Pacific Northwest.
- Portfolio review: Request photographs of comparable furniture and ask what treatments were performed.
- References: Speak with previous clients about communication, documentation, and the finished work.
Cost depends on the piece, the finish, the damage, and the documentation required. A proper assessment may cost less than repairing damage caused by an aggressive solvent, sanding, or water treatment. No responsible specialist should promise a flawless result without examining the furniture in person.
Stop immediately if the surface becomes tacky, cloudy, lighter, darker, cracked, or visibly disturbed. Don't continue cleaning a piece with loose veneer, flaking finish, structural looseness, active mold, or deep water damage. A hands-on assessment is the sensible next move before attempting anything aggressive.
Gates Home Furnishings has served Grants Pass and the Rogue Valley since 1946, founded by George Gates Jr. on the promise of “Service and Value.” Customers can visit the 30,000-square-foot Grants Pass showroom to test comfort, explore Unique Finds in reclaimed wood and teak, and review brands including La-Z-Boy, Flexsteel, Ashley, and Beautyrest. Visit Gates Home Furnishings for furniture, mattresses, Gates Easy Pay options including $0 down, 6-month interest-free, and no-credit-needed programs, plus white-glove delivery with professional assembly and mattress haul-away.
