
How to Clean Memory Foam Mattress Topper the Right Way

A coffee spill on the bed rarely happens at a convenient time. In Grants Pass, it may be a morning mishap before work, a pet accident after a rainy night, or a musty smell that becomes noticeable after a damp Rogue Valley winter. Memory foam needs a calmer approach than ordinary bedding because liquid can travel deep into its dense structure, where trapped moisture is difficult to remove.
The safest answer to how to clean a memory foam mattress topper is simple: use as little moisture as possible, match the treatment to the stain, and allow the topper to dry completely before putting the sheets back. The wrong shortcut, especially machine washing, can tear, crumble, or permanently deform the foam. This guide also covers the drying decisions and stain-specific trade-offs that generic cleaning advice often skips.
Why Your Memory Foam Topper Deserves a Real Cleaning Routine
A Grants Pass homeowner once brought home a memory foam topper after testing comfort at a local showroom. Several months later, a cup of coffee tipped over during an early morning rush. The first instinct was understandable, grab a spray bottle and scrub hard. That response can push the spill farther into the foam instead of lifting it out.
Memory foam isn't a solid slab in the everyday sense. Its delicate cellular structure can absorb moisture into the core, and agitation can damage those cells. For that reason, guidance on the right way to clean mattresses generally supports a controlled, low-moisture process rather than aggressive soaking or scrubbing.
A topper also sits directly beneath sheets and a protector, so it collects body oils, sweat, dust, and occasional spills over time. A musty odor doesn't always mean the surface looks dirty. It may indicate that moisture has remained inside longer than expected.
Why washing machines are the wrong starting point
Memory foam mattress toppers shouldn't be machine washed. The washer's agitation can tear, crumble, or permanently deform the foam, while excess water can become trapped in the dense interior. Heat creates another risk because memory foam is sensitive to high temperatures and can lose its shape or suffer surface damage.
The safer routine is:
- Remove the bedding: Wash sheets and the removable protector separately according to their care labels.
- Inspect the topper tag: Manufacturer directions take priority, especially if a warranty is still active.
- Clean gently: Vacuum first, blot stains with minimal moisture, then deodorize.
- Dry completely: Don't replace bedding until the foam and cover are fully dry.
Cleaning protects the sleep investment
A quality topper changes how a mattress feels, but it only performs well when its structure remains intact. Regular care protects comfort, reduces the chance of lingering odors, and helps prevent a small spill from becoming a larger replacement decision.
Readers who want a clearer explanation of the material can review what memory foam mattresses are. The same practical service mindset that has guided Gates Home Furnishings since 1946, when George Gates built the business around “Service and Value,” applies here: protect the furniture and sleep products already in the home before reaching for a stronger solution.
Prep and Vacuum the Topper the Right Way
Cleaning goes better when the topper starts dry and free of loose debris. Dust, dander, hair, and dead skin can turn into a muddy residue as soon as a damp cloth touches them. Vacuuming first also makes it easier to see whether a mark is a true stain or just surface buildup.

Gather the supplies before starting
Set everything beside the bed or cleaning area so the topper doesn't have to sit damp while someone searches for a towel.
- Vacuum: Use an upholstery attachment or another soft tool that won't gouge the foam.
- Clean towels: White or light-colored towels make it easier to see what has lifted from the stain.
- Mild detergent: Choose a gentle product, and use only a small amount.
- Cool water: Keep the solution cool rather than hot.
- Baking soda: Use it later for deodorizing.
- Ventilation: Have a fan, open room, or well-ventilated drying area ready.
Vacuum both sides slowly
Remove the topper from the mattress and lay it flat on a clean floor, a protected table, or another broad surface. Vacuum the upper side in overlapping passes, paying attention to seams, corners, and textured areas. Turn it over carefully and repeat the process on the underside.
Don't press the vacuum head hard into the foam. Slow, light passes lift debris without compressing the material unnecessarily. Scrubbing the surface like carpet can grind particles deeper and may damage the foam's texture.
Practical rule: Dry debris comes out more easily than wet debris. Vacuum before applying any liquid, even when the stain looks small.
Once both sides are clean, check for odors and identify every visible mark. The next treatment should be chosen by stain type, not by whichever bottle happens to be closest. For broader bedroom upkeep, these tips for maintaining a dust and allergen-free bedroom can help reduce the buildup that makes topper cleaning harder.
Match the Stain to the Safest Method
A coffee spill, body oil, urine, and an old odor each call for a different response. Identify the residue first, then choose the mildest method that can address it. The goal is to protect the foam and preserve the sleep investment, especially in Rogue Valley humidity, where leftover moisture can linger longer than expected.
| Stain Type | Best First Step | Use With Caution | Avoid |
|---|---|---|---|
| Sweat and body oils | Blot with a lightly damp cloth and a small amount of mild detergent mixed with cool water | Repeat gently instead of adding more moisture | Scrubbing, soaking, and hot water |
| Urine | Blot immediately, then use a controlled treatment intended for biological residue | Enzymatic spray may help, but test it on an inconspicuous area and use minimal moisture | Saturating the foam or masking the odor before drying |
| Food and beverage spills | Remove solids, blot liquid, then use mild detergent and cool water | Let a stain solution sit for 5 to 10 minutes before blotting, following this foam topper cleaning guidance | Rubbing outward, bleach-based products, and excessive spray |
| Mystery odors | Vacuum first, then apply baking soda and remove it thoroughly after extended contact | Diluted vinegar may help with some odors, but overuse can be harsh | Layering several cleaners together |
| Stubborn discoloration | Blot and determine whether the mark is on the surface or embedded | Hydrogen peroxide can affect color, adhesives, or foam, so test with extreme caution | Applying peroxide broadly without checking the care label |
Sweat and body oils
Fresh oil marks usually respond to restraint. Dampen a cloth with cool water and a small amount of mild detergent, then press and blot the area. Follow with a clean, lightly damp section to lift detergent residue. Several gentle passes are safer than one wet application.
Urine and other biological spills
Urine needs prompt blotting because liquid can travel below the cover. Use a product intended for biological residue only after checking its label and the topper's care instructions. A small test area shows whether the treatment changes the cover or affects the foam. If the spot is already dry, remove surface residue first and avoid covering the odor before the area has dried.
Food, drinks, and odors
Food oils may need mild detergent, while sugary drinks can leave a tacky film. Remove solids before blotting, and work from the outside of the mark toward the center so the spill does not spread. Apply only enough solution to lift residue, then press with a dry towel.
Baking soda suits odor control better than every visible stain. Vinegar and hydrogen peroxide remain cautious options, not default cleaners, because stronger chemistry can create discoloration or material damage. In humid Rogue Valley homes, use even less liquid and allow extra airflow after any spot treatment.
Deep Clean and Deodorize Without Overwetting
A memory foam topper doesn't need to be drenched to feel fresher. After vacuuming and treating individual spots, a controlled surface refresh is usually safer than pouring a solution across the foam.
Mix a small amount of mild detergent with cool water. Dip a clean cloth into the mixture, then wring it out until it feels lightly damp rather than wet. Work across the surface in small areas, using gentle blotting motions. Don't pour the solution directly onto the topper.
Keep the moisture on the surface
After treating an area, press it with a dry towel to draw out as much moisture as possible. Change to a dry section of the towel as it becomes damp. This technique limits the amount of liquid that can travel into the foam core.
For anyone handling multiple cloths during the job, these cleaning rag safety tips offer useful reminders about keeping used and clean materials separate. A dirty cloth can spread residue from one stain to another, especially on a pale cover.

Deodorize with a defined contact time
Once spot treatment is complete and the surface is only lightly damp, sprinkle baking soda evenly over the topper. A detailed care guide recommends leaving it in place for at least 8 hours before vacuuming it away, and an overnight application fits that same low-effort routine. The powder gives odors time to be absorbed at the surface instead of being masked by fragrance.
Vacuum the baking soda thoroughly from both sides if practical. Don't leave residue beneath the sheets, and don't use the topper again until it has finished drying. Further mattress maintenance and cleaning tips can help keep the surrounding sleep system cleaner between deeper care sessions.
The Uncomfortable Truth About DIY Cleaners
“Natural” doesn't mean harmless to foam. Vinegar and hydrogen peroxide can be useful in limited situations, but repeated or broad application may be harsh on memory foam, its cover, or the adhesives used in the construction. Bleach-based sprays create an even greater risk of discoloration and material damage.
The problem is often dosage and repetition. A lightly applied product on a small test area is different from saturating a topper, scrubbing it repeatedly, and combining several cleaners. Some cleaning approaches also leave residue that attracts more soil or traps odor beneath the surface.
Why stronger isn't necessarily better
Vinegar's acidity may help with certain odors, but overuse can affect foam and fabric. Hydrogen peroxide is an oxidizer, so it may lighten or yellow a cover and can alter the appearance of treated material. Neither should be treated as a universal answer for every stain.
A safer decision process asks:
- What caused the mark? Identify oil, food, liquid, biological residue, or odor.
- Is the stain fresh or embedded? Fresh spills usually need less intervention.
- What does the care label allow? Warranty terms may restrict chemical treatments.
- Can the area dry fully? If not, adding more liquid only increases the risk.
Stop cleaning when the treatment creates more moisture than the topper can safely release.
When replacement makes more sense
Cleaning should stop when an odor remains after careful treatment and complete drying, when foam has torn or crumbled, or when the topper has lost meaningful support. An embedded biological contamination issue can also exceed what household spot cleaning can handle safely.
Replacement isn't a failure. It can be the healthier and more practical choice when repeated treatments keep adding moisture without restoring comfort or freshness. A sleep-care professional can help compare the condition of the current topper with a replacement surface instead of encouraging another round of increasingly aggressive chemicals.
Drying Done Right in a Humid Climate
Drying determines whether the cleaning worked. Memory foam can feel dry on top while holding moisture inside the dense core, and putting sheets back too soon can trap that moisture against the bed.
Indoor drying commonly takes 24 to 48 hours, with fan-assisted airflow helping the process, according to foam topper drying guidance. Lighter or thinner toppers may dry in 12 to 24 hours, while warm, low-humidity outdoor conditions may reduce drying to roughly 4 to 12 hours. These are practical ranges, not permission to rush. Room humidity, topper thickness, and the amount of water used all matter.
Set up airflow instead of adding heat
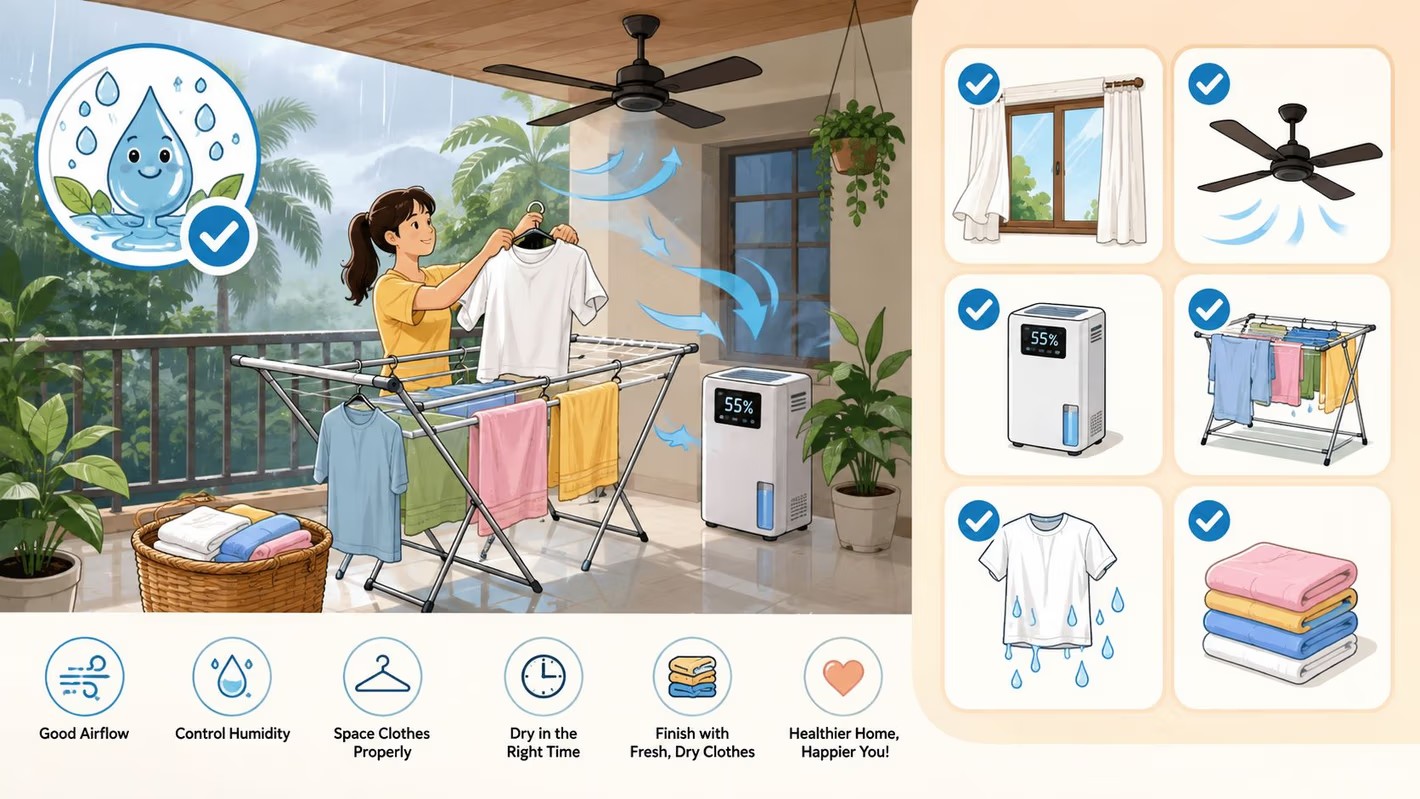
Place the topper flat in a well-ventilated room, leaving space around its edges. A fan should move air across the surface rather than blasting one small area at close range. A dehumidifier can help in a damp Southern Oregon home, particularly when outdoor air is already moist.
Flip the topper during drying so both sides receive airflow. Avoid extended direct sunlight because heat and ultraviolet exposure can degrade foam and yellow the surface, even though sunlight may seem like an easy drying solution.
Check the core before reuse
Press several areas with a clean, dry hand. Then place a dry towel against the surface and apply gentle pressure. If the towel picks up dampness, or if the topper feels cooler and heavier in isolated areas, continue drying.
A well-ventilated room may still require up to 24 hours for complete drying, according to additional foam topper care guidance. Don't rely on a pleasant surface feel alone. Lingering moisture in the core can retain odor and encourage mildew, especially when bedding blocks airflow.
Prevention Habits and When to Bring In the Sleep Care Team
The easiest topper to clean is the one protected from avoidable spills. A washable protector creates a barrier between sheets, body oils, pet accidents, and the foam itself. It also makes routine care simpler because the protector can be removed and cleaned without exposing the topper to unnecessary moisture.
Build a small maintenance rhythm
- Check the protector: Look for worn seams, loose elastic, or areas where liquid could pass through.
- Vacuum routinely: Use a soft upholstery attachment and light pressure on both sides when the topper is removed.
- Rotate thoughtfully: Turn the topper from time to time to distribute wear, following the manufacturer's directions.
- Manage indoor humidity: Keep the bedroom ventilated, especially after any spot treatment.
- Read the care label first: Warranty conditions may exclude damage caused by machine washing, harsh chemicals, or improper drying.
Premium brands carried through local mattress galleries, including Beautyrest, may have specific care and warranty requirements. Machine washing or chemical treatment can affect coverage, so the care tag should guide every cleaning decision before a product touches the foam.
Know when professional guidance helps
A sleep-care team can assess whether a topper still provides the support and comfort it was chosen to deliver. The Gates Sleep Care approach is useful when a topper has persistent odor, visible deterioration, or a shape that no longer suits the mattress. It also helps shoppers compare sleep surfaces from brands such as La-Z-Boy, Flexsteel, Ashley, and Beautyrest without guessing from a product label alone.
For Southern Oregon households, the 30,000-square-foot Grants Pass showroom provides a place to test comfort in person. Gates Home Furnishings also offers Unique Finds made with reclaimed wood and teak for shoppers furnishing the rest of the home, plus Gates Easy Pay options that include $0 down, 6-month interest-free financing, and no-credit-needed choices. Professional white-glove delivery includes assembly and mattress haul-away, rather than just dropping boxes at the door.
Visit Gates Home Furnishings to speak with the sleep-care team, test replacement comfort in the Grants Pass showroom, and find practical options for homes across Medford, Central Point, Ashland, and the broader Rogue Valley. The team can also explain Gates Easy Pay, white-glove delivery, professional assembly, and mattress haul-away when a worn topper has reached the end of its useful life.
